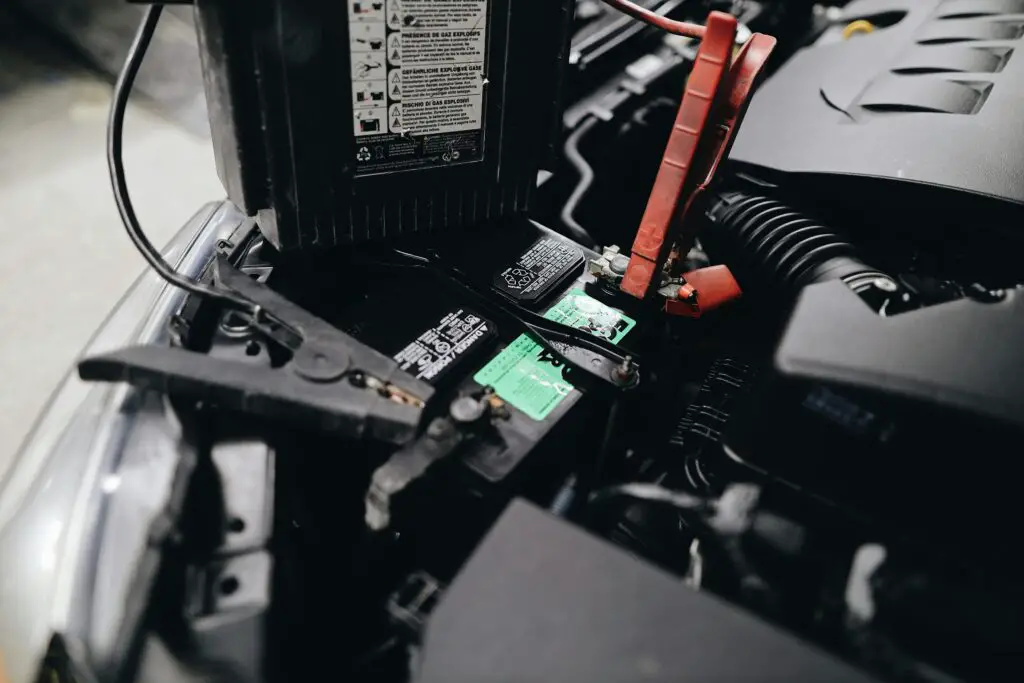
Looking for how to connect a car battery charger? A car battery charger can be a lifesaver when your battery is low or completely dead. Knowing how to use a battery charger properly can save you from being stranded and extend the life of your car battery. In this guide, we’ll walk you through the steps to safely and effectively connect a car battery charger.
Why Use a Car Battery Charger?
A car battery charger is a device that replenishes the charge of your vehicle’s battery.
It’s especially useful if:
- Your car isn’t driven regularly, and the battery discharges over time.
- You’ve left the lights or accessories on, draining the battery.
- Cold weather has reduced the battery’s capacity.
Having a battery charger at home can help you avoid costly towing or roadside assistance calls.
Tools You’ll Need
Before starting, make sure you have:
- A compatible car battery charger.
- Safety gloves and goggles.
- A clean workspace free from flammable materials.
Step-by-Step Guide to Connecting a Car Battery Charger
1. Ensure Safety First
- Turn Off the Car: Make sure the ignition is off and the keys are removed.
- Park in a Safe Area: Choose a well-ventilated, flat surface.
- Inspect the Battery: Look for visible damage, leaks, or corrosion. If the battery is damaged, do not attempt to charge it.
- Wear Protective Gear: Use gloves and goggles to protect against accidental sparks or battery acid.
2. Choose the Right Charger Settings
- Voltage: Ensure the charger matches your car’s battery voltage (typically 12V for most vehicles).
- Charging Mode: Select the appropriate mode, such as:
- Trickle Charge: For a slow, steady charge.
- Fast Charge: For a quicker recharge (use sparingly to avoid overheating).
3. Connect the Charger to the Battery
- Identify the Battery Terminals:
- The positive terminal is marked with a “+” sign and often has a red cover.
- The negative terminal is marked with a “-” sign.
- Attach the Positive Clamp:
- Connect the charger’s red clamp to the positive terminal of the battery.
- Attach the Negative Clamp:
- Connect the black clamp to the negative terminal of the battery. Alternatively, you can attach the black clamp to a grounded metal surface away from the battery to reduce the risk of sparks.
- Double-Check Connections:
- Ensure the clamps are secure and not touching each other.
4. Power On the Charger
- Plug in the Charger:
- Connect the charger to a power outlet.
- Turn on the Charger:
- Follow the manufacturer’s instructions to activate the charger. Most chargers will have an indicator light or display to show that charging has begun.
- Monitor the Charging Process:
- Check the charger’s display or indicator lights to monitor progress. Avoid leaving the charger unattended for extended periods.

5. Disconnect the Charger Safely
- Turn Off the Charger:
- Once the battery is fully charged, turn off the charger and unplug it from the power outlet.
- Remove the Clamps:
- Remove the black clamp (negative) first.
- Remove the red clamp (positive) last.
- Inspect the Battery:
- Check the battery for any signs of overheating or damage after charging.
Tips for Effective Charging
- Check Battery Levels: If your battery has removable caps, check the electrolyte levels and add distilled water if needed.
- Avoid Overcharging: Overcharging can damage the battery. Use a charger with an automatic shut-off feature if possible.
- Store Safely: Keep your battery charger in a dry, cool place when not in use.
When to Replace Your Battery
If your battery frequently needs charging or doesn’t hold a charge, it may be time for a replacement. Signs of a failing battery include:
- Slow engine cranking.
- Dim headlights.
- Frequent electrical issues.
Final Thoughts
Connecting a car battery charger is a straightforward process that can save you time and money. By following these steps and prioritizing safety, you can keep your car’s battery in excellent condition and avoid unexpected breakdowns.
Whether you’re new to car maintenance or a seasoned driver, having a reliable battery charger and knowing how to use it is an invaluable skill. Ready to charge up and hit the road? Let us know if you have any questions!
Discover more from Chikwem
Subscribe to get the latest posts sent to your email.