Jumpstarting a car is a skill every driver should know. When your battery dies unexpectedly, jumper cables and a working vehicle can save the day. But the process isn’t as simple as connecting cables and turning the key—there’s a specific order to follow. Let’s break down which jumper cable goes on first and why the sequence matters.
The Basics of Jumpstarting
Before diving into the step-by-step process, here are a few safety precautions to keep in mind:
- Check the Battery: Ensure the dead battery isn’t damaged or leaking.
- Avoid Sparks: Improper handling can cause sparks, which are dangerous around batteries.
- Turn Off Both Cars: Make sure both vehicles are completely turned off before connecting the cables.
- Park Safely: Place the cars close enough for the cables to reach but without the vehicles touching.
Which Cable Goes on First?
When connecting jumper cables, the sequence is crucial to prevent electrical damage and ensure safety. Follow these steps:
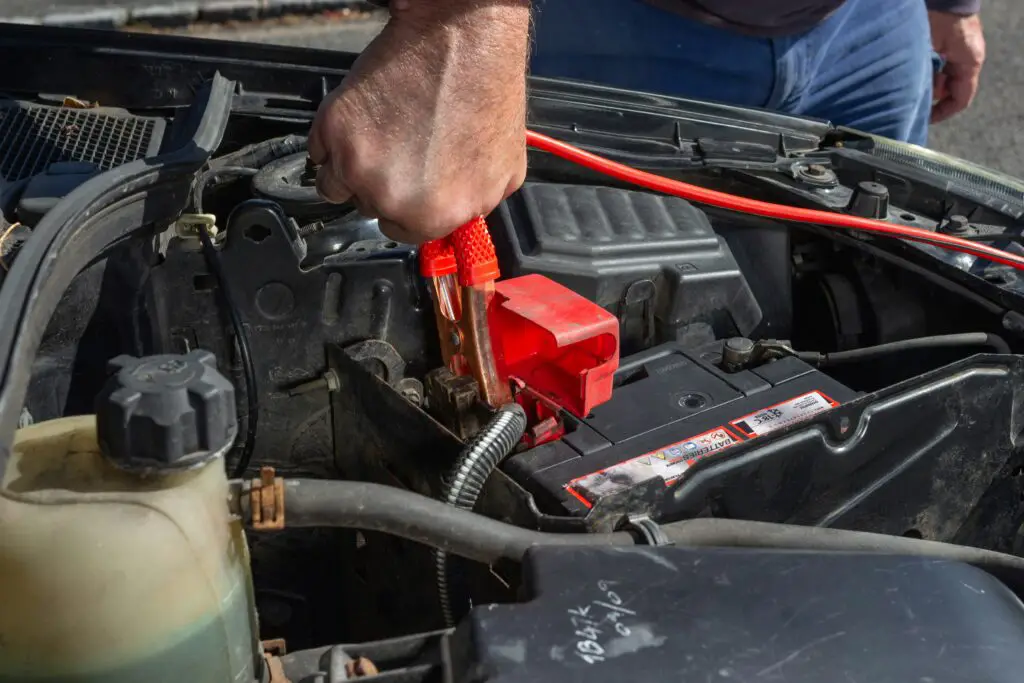
1. Connect the Red Cable to the Dead Battery
- Attach one end of the red (positive) cable to the positive terminal on the dead battery. The positive terminal is usually marked with a “+” symbol or a red cover.
2. Connect the Red Cable to the Good Battery
- Attach the other end of the red cable to the positive terminal of the working battery.
3. Connect the Black Cable to the Good Battery
- Attach one end of the black (negative) cable to the negative terminal of the good battery. This terminal is typically marked with a “-” symbol.
4. Connect the Black Cable to an Unpainted Metal Surface on the Dead Car
- The other end of the black cable should be clamped to an unpainted metal surface, such as a bolt or bracket, away from the dead battery. This acts as the ground and reduces the risk of sparks near the battery.

Why the Sequence Matters
Properly connecting the cables ensures a safe and effective transfer of electrical current. Here’s why the order is important:
- Preventing Sparks: Attaching the negative cable to a grounded metal surface instead of the dead battery reduces the risk of sparks near flammable battery gases.
- Protecting the Electrical System: Incorrect connections can cause voltage surges, damaging the electrical components of both vehicles.
- Ensuring a Good Connection: Following the sequence ensures a stable electrical circuit for jumpstarting.
Starting the Car
After the cables are securely connected:
- Start the engine of the working vehicle.
- Wait a few minutes to allow the dead battery to charge.
- Start the engine of the car with the dead battery. If it doesn’t start, wait another minute or two and try again.
Disconnecting the Cables
Once the dead car is running, disconnect the cables in the reverse order:
- Remove the black cable from the grounded metal surface on the dead car.
- Remove the black cable from the negative terminal of the good battery.
- Remove the red cable from the good battery.
- Remove the red cable from the dead battery.
Ensure the cables don’t touch each other or any metal surfaces during removal.
Final Thoughts
Knowing which jumper cable goes on first can make all the difference in safely jumpstarting a car. By following the correct sequence, you’ll protect your vehicle’s electrical system and get back on the road with confidence.
Do you have a jumpstarting tip or story? Share it in the comments below!
Discover more from Chikwem
Subscribe to get the latest posts sent to your email.